
When I recently moved into my new apartment I absolutely loved everything except for two things….
1. My extremely short bathroom sink.
2. The brick facade above my fireplace!
Now, I’m a huge fan of exposed brick and will take it wherever I can, but this…this is not your beautiful brick. This my friends is z-brick! For those who don’t know, z-brick is a type of wall covering. A thin brick facing that in this case was applied over plaster. This may not be a catastrophe to many but it becomes a slightly bigger challenge when you are renting! As most renters know you are usually pretty limited in what you can and can’t alter.

Challenge: How to completely change the look of the z-brick wall, with out really changing it?
Solution: Build a relatively light weight structure to cover the undesirable with something desirable! Key: Do not permanently alter or attach to the undesirable. I chose to use wallpaper as my desirable. With so many amazing wallpaper designs to chose from I knew I could find something to create the look I wanted.
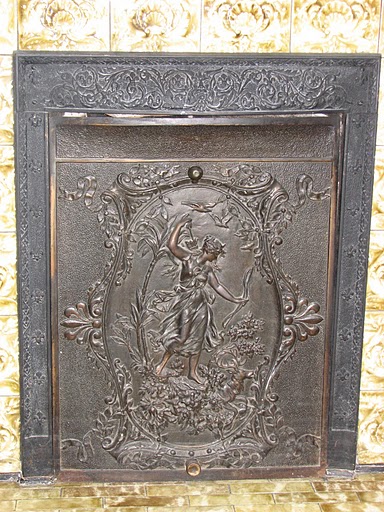
I should probably mention..the fireplace itself was not and is not bad, in fact it’s wonderful! It still has the original decorative tile and cast iron surround/cover that is exquisite! It has so much detail and gives off this romantic ‘secret garden like’ vibe that you can’t help but love. OK, so maybe I’m the only one who sees it that way but in any case it’s beautiful. I actually felt that I owed it to the fireplace to some how rid it of the dreary facade that had been placed upon it and breathe new life into it.
Step 1.
Recruit some one to help because you may need a hand. I often select my father for such projects. He doesn’t always have a choice so this works out well!
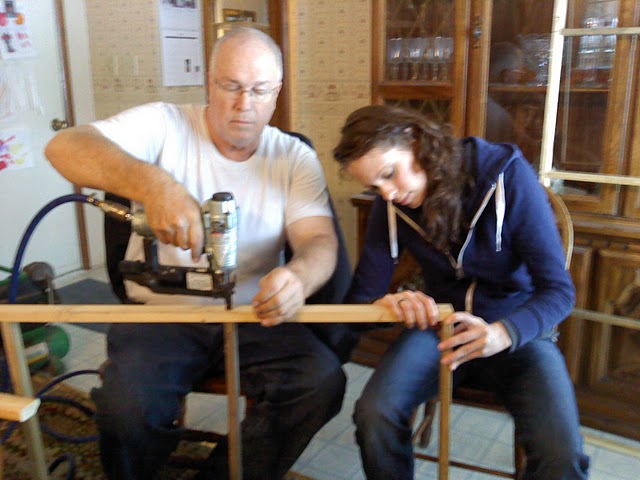
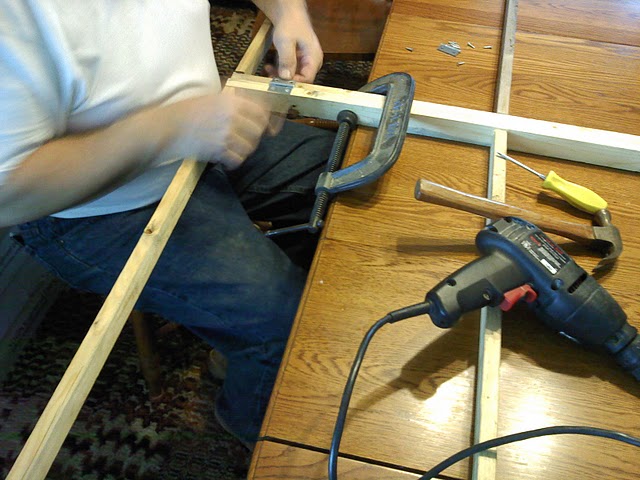
We first built a frame out of 1 x 2’s and made it the exact size of the chimney chase wall. I decided to build this at my parents house so that I could make use of my fathers tools and lending hand. However, this did raise an issue with transportation. Due to it’s large dimensions, the only way to transport the unit was by constructing it in two sections and hinging it down the center so that we could fit it in their van.
Step 2.
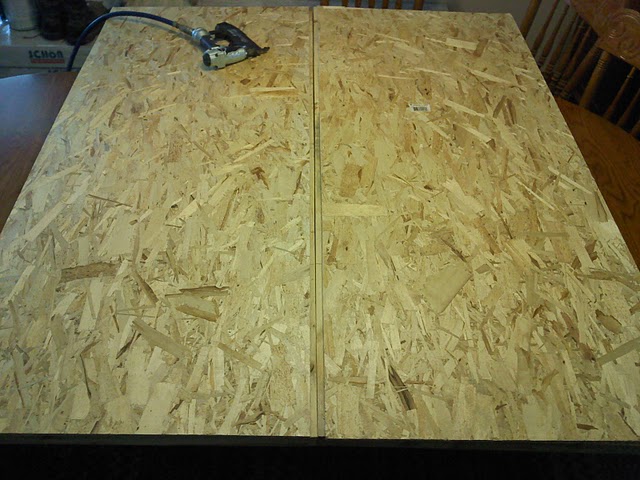
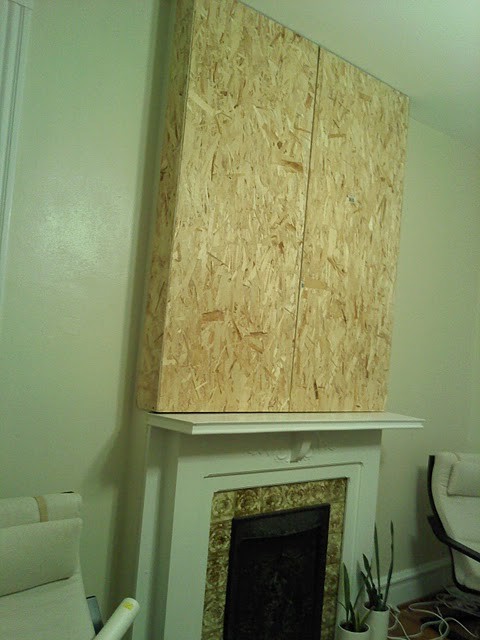
We attached wafer board to the face of the frame and along the sides to cover the return of the chase wall. We chose to use wafer board because it is cheap, relatively light weight and substantial enough for the intended use.
Once that was built and eventually transported to my apartment, we placed the unit directly around the chase. It actually stood in place by itself but for additional support we tacked a nail at the top and bottom of each side, along the return. I did not intend on hanging much weight from it, as my goals was to have nothing screwed and nothing anchored to the wall!
Step 3.
Once in place we filled in any gaps or imperfections with spackle and smoothed the surface by applying a backing paper. The only reason this project required spackle was to help conceal an error on our part (or mine)…oops!

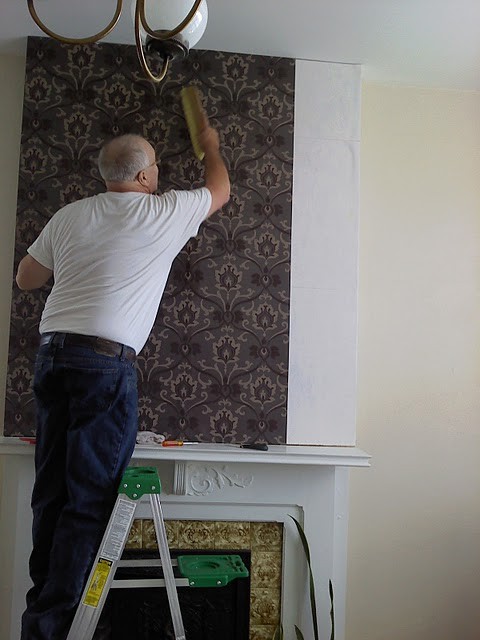
Step 4.
We then hung the wall paper and this is where things got a little ugly for us. Our main problem was that we were running low on glue and ended up diluting it a bit too much! This caused the glue to dry very quickly and parts of the paper would dry before we were able to line up the design and the seams. Despite our personal challenges in this area, overall the project was pretty simple.
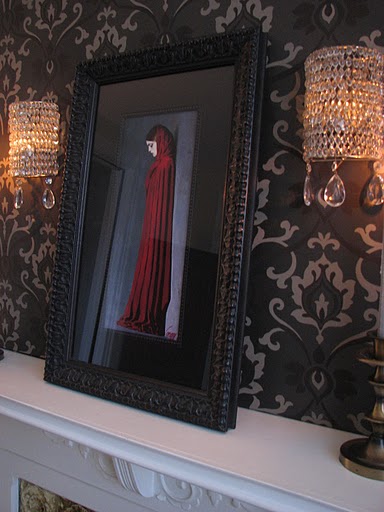
The final result….
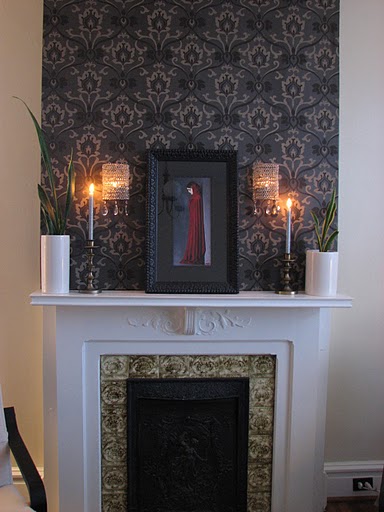
There are other things I could have done using this same concept but I chose to wallpaper. I was looking for something dramatic and graphic that complimented the already existing elements of the fireplace itself. I like how the motifs in the paper tie in so nicely with that of the tile and the scrolls in the cast iron cover. All of the motifs look up but then scroll back down (in both the paper and decorative tile)…it’s this beautiful medley that gracefully takes your eye all the way up and all the way back down again.

With a little patience and precision this can easily be done, and you can create the look you want! Where there’s a will there’s a way to always bloom where you’re planted….bad z-brick and all!
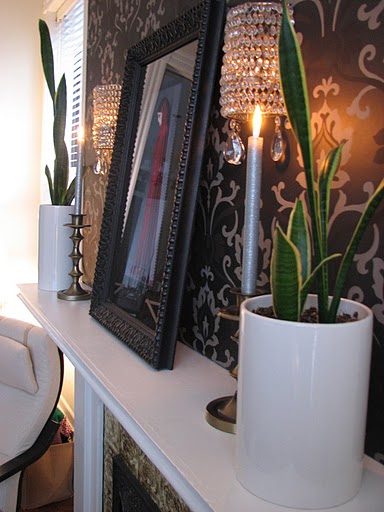
Hi Andrea – I LOVE the look you obtained with your fireplace. An extra nice touch is those crystal lights and the candles. You did a good job. Next time you get home, lets go to some garage sales and see if we can find you an island for your kitchen and discuss some ideas I had for your chalkboard (you probably have had the same ideas) but anyway it would be fun. I finally found my brass headboard at a used furniture store!! It is white with brass accents but I think maybe, pretty sure, not quite, that I am going to paint it black when I am on vacation the end of April. TTYL Love, Aunt Karen
That is fantastic! Beautiful wallpaper and I love the pop of red on her cape. Great job!
The transformation is awesome! Makes me want to get crackin on some work at my house…..are you available? 🙂
Great solution to an unsightly problem. Love the wallpaper.
Thanks Vicki!